
Configure: shared context for AI apps and chats
Configure lets your agent know a user from the first message. The user brings what ChatGPT, Claude, Gemini, or Grok knows about them, and can connect apps such as Gmail and Calendar. Your agent reads that profile, and what it learns goes back into it. The user approves every app and can revoke access at any time.
TIP
Fastest path: paste Read https://configure.dev/skill.md and add Configure to this project. into your coding agent. See Skills.
How it works
The examples on this site use Remy, the research assistant in Smry, and Nova Sandbrook, the test user in every Configure sandbox.
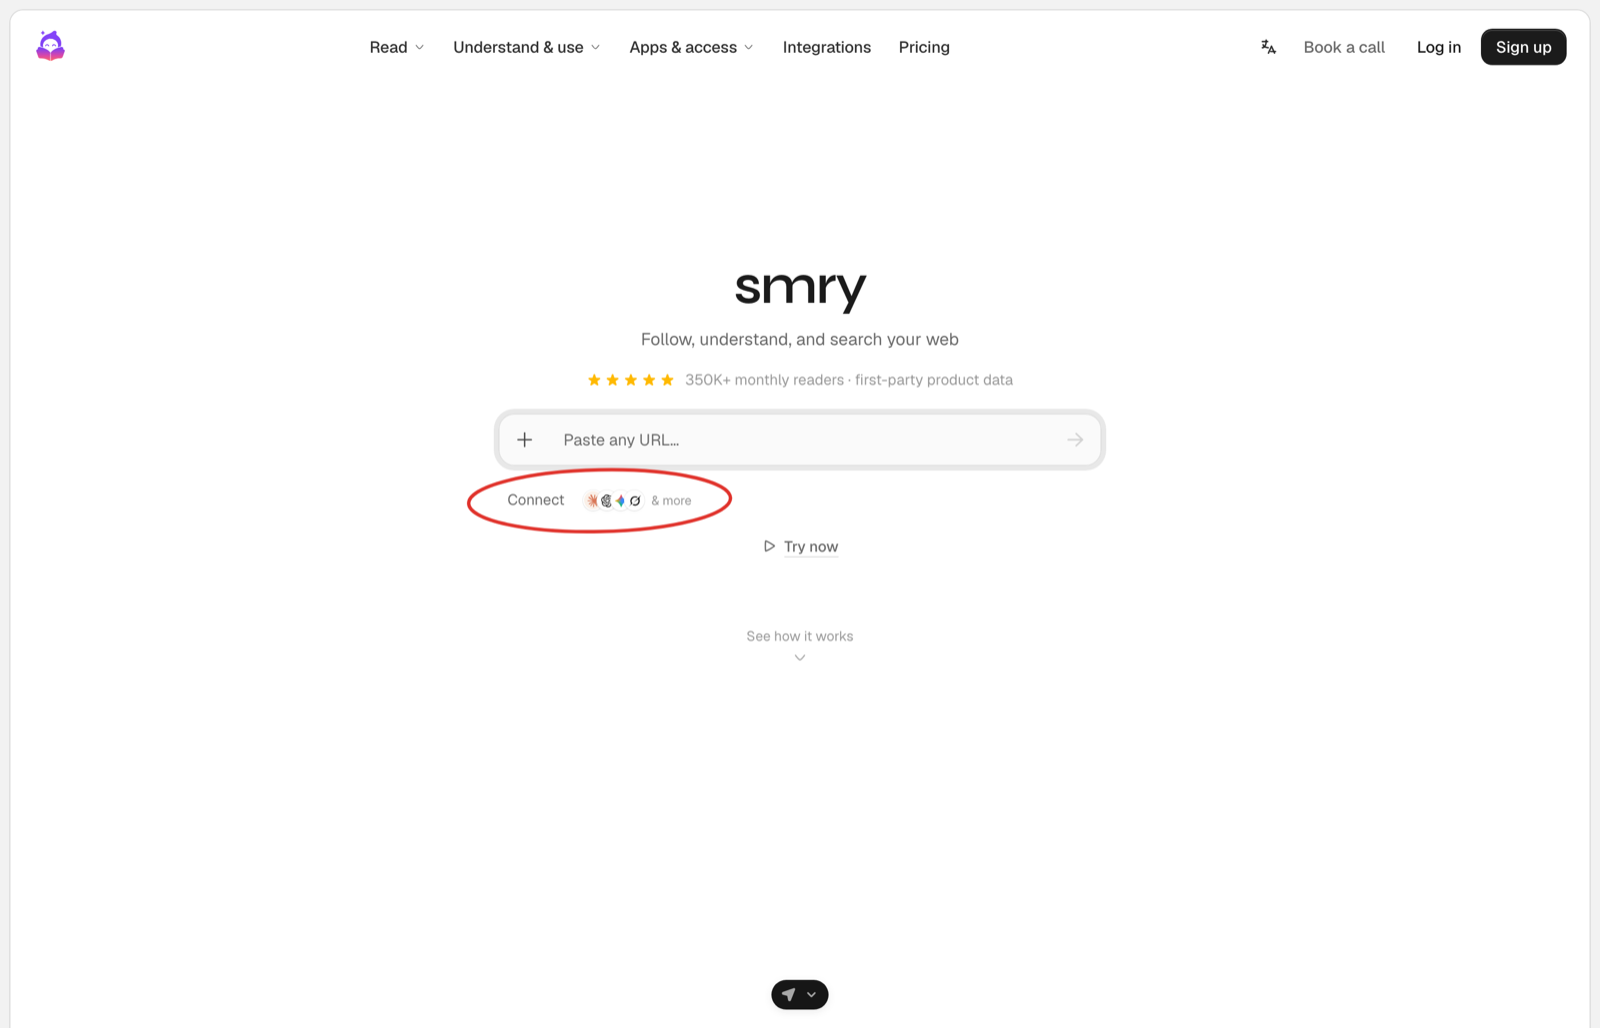
1. The user clicks the chip
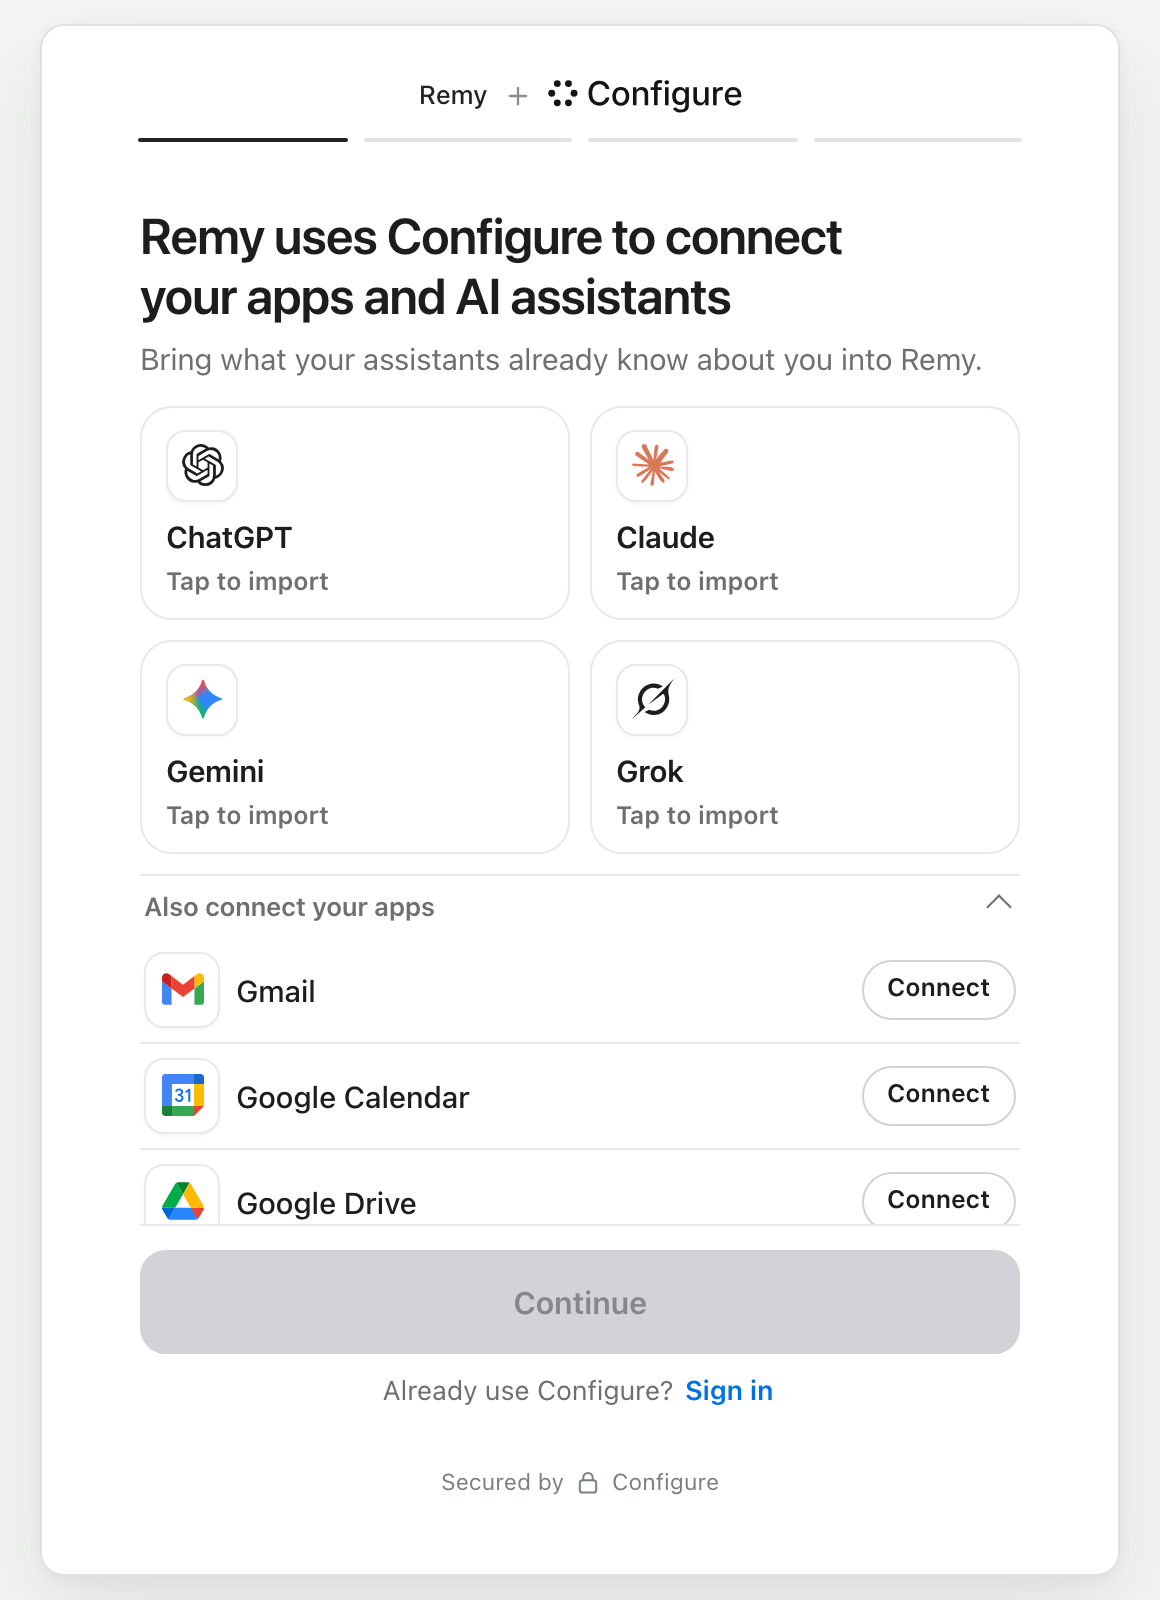
2. The user brings their context on Configure's page
They import memories from an assistant or connect an app, confirm their phone number with a code, and see what came in. Finishing approves your app.
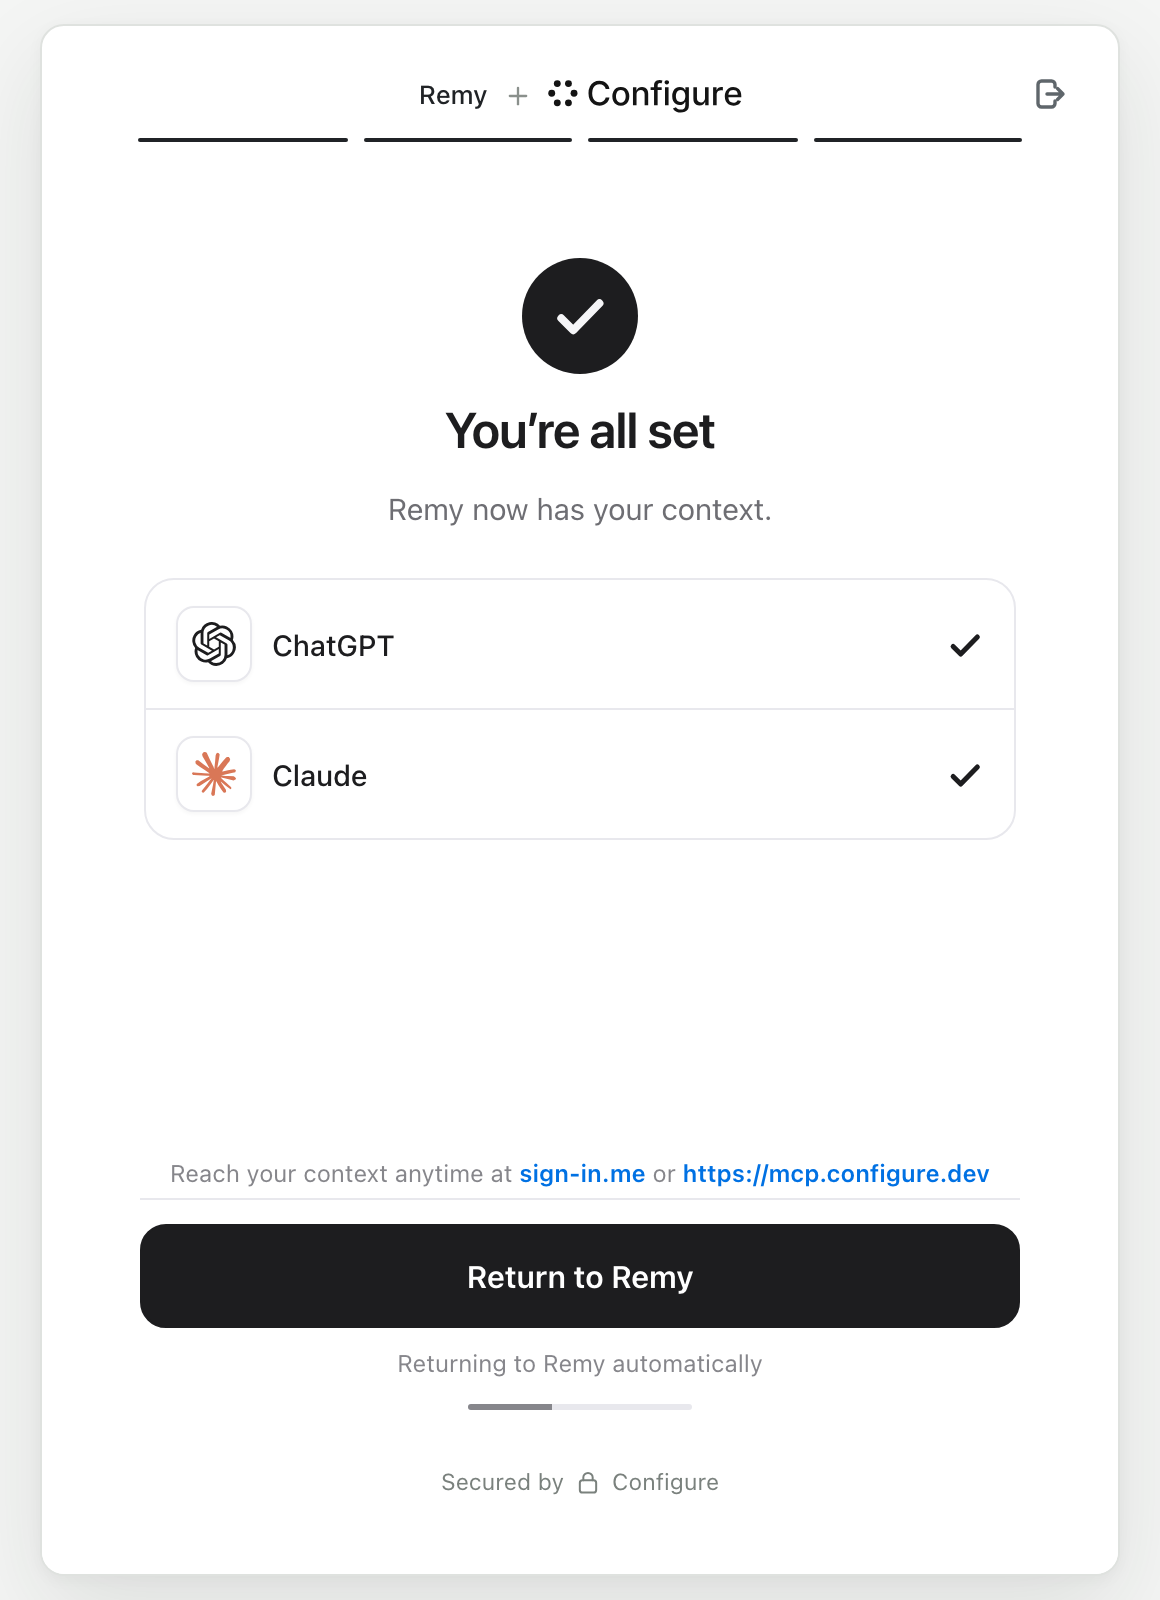
3. The user comes back, and your agent knows them
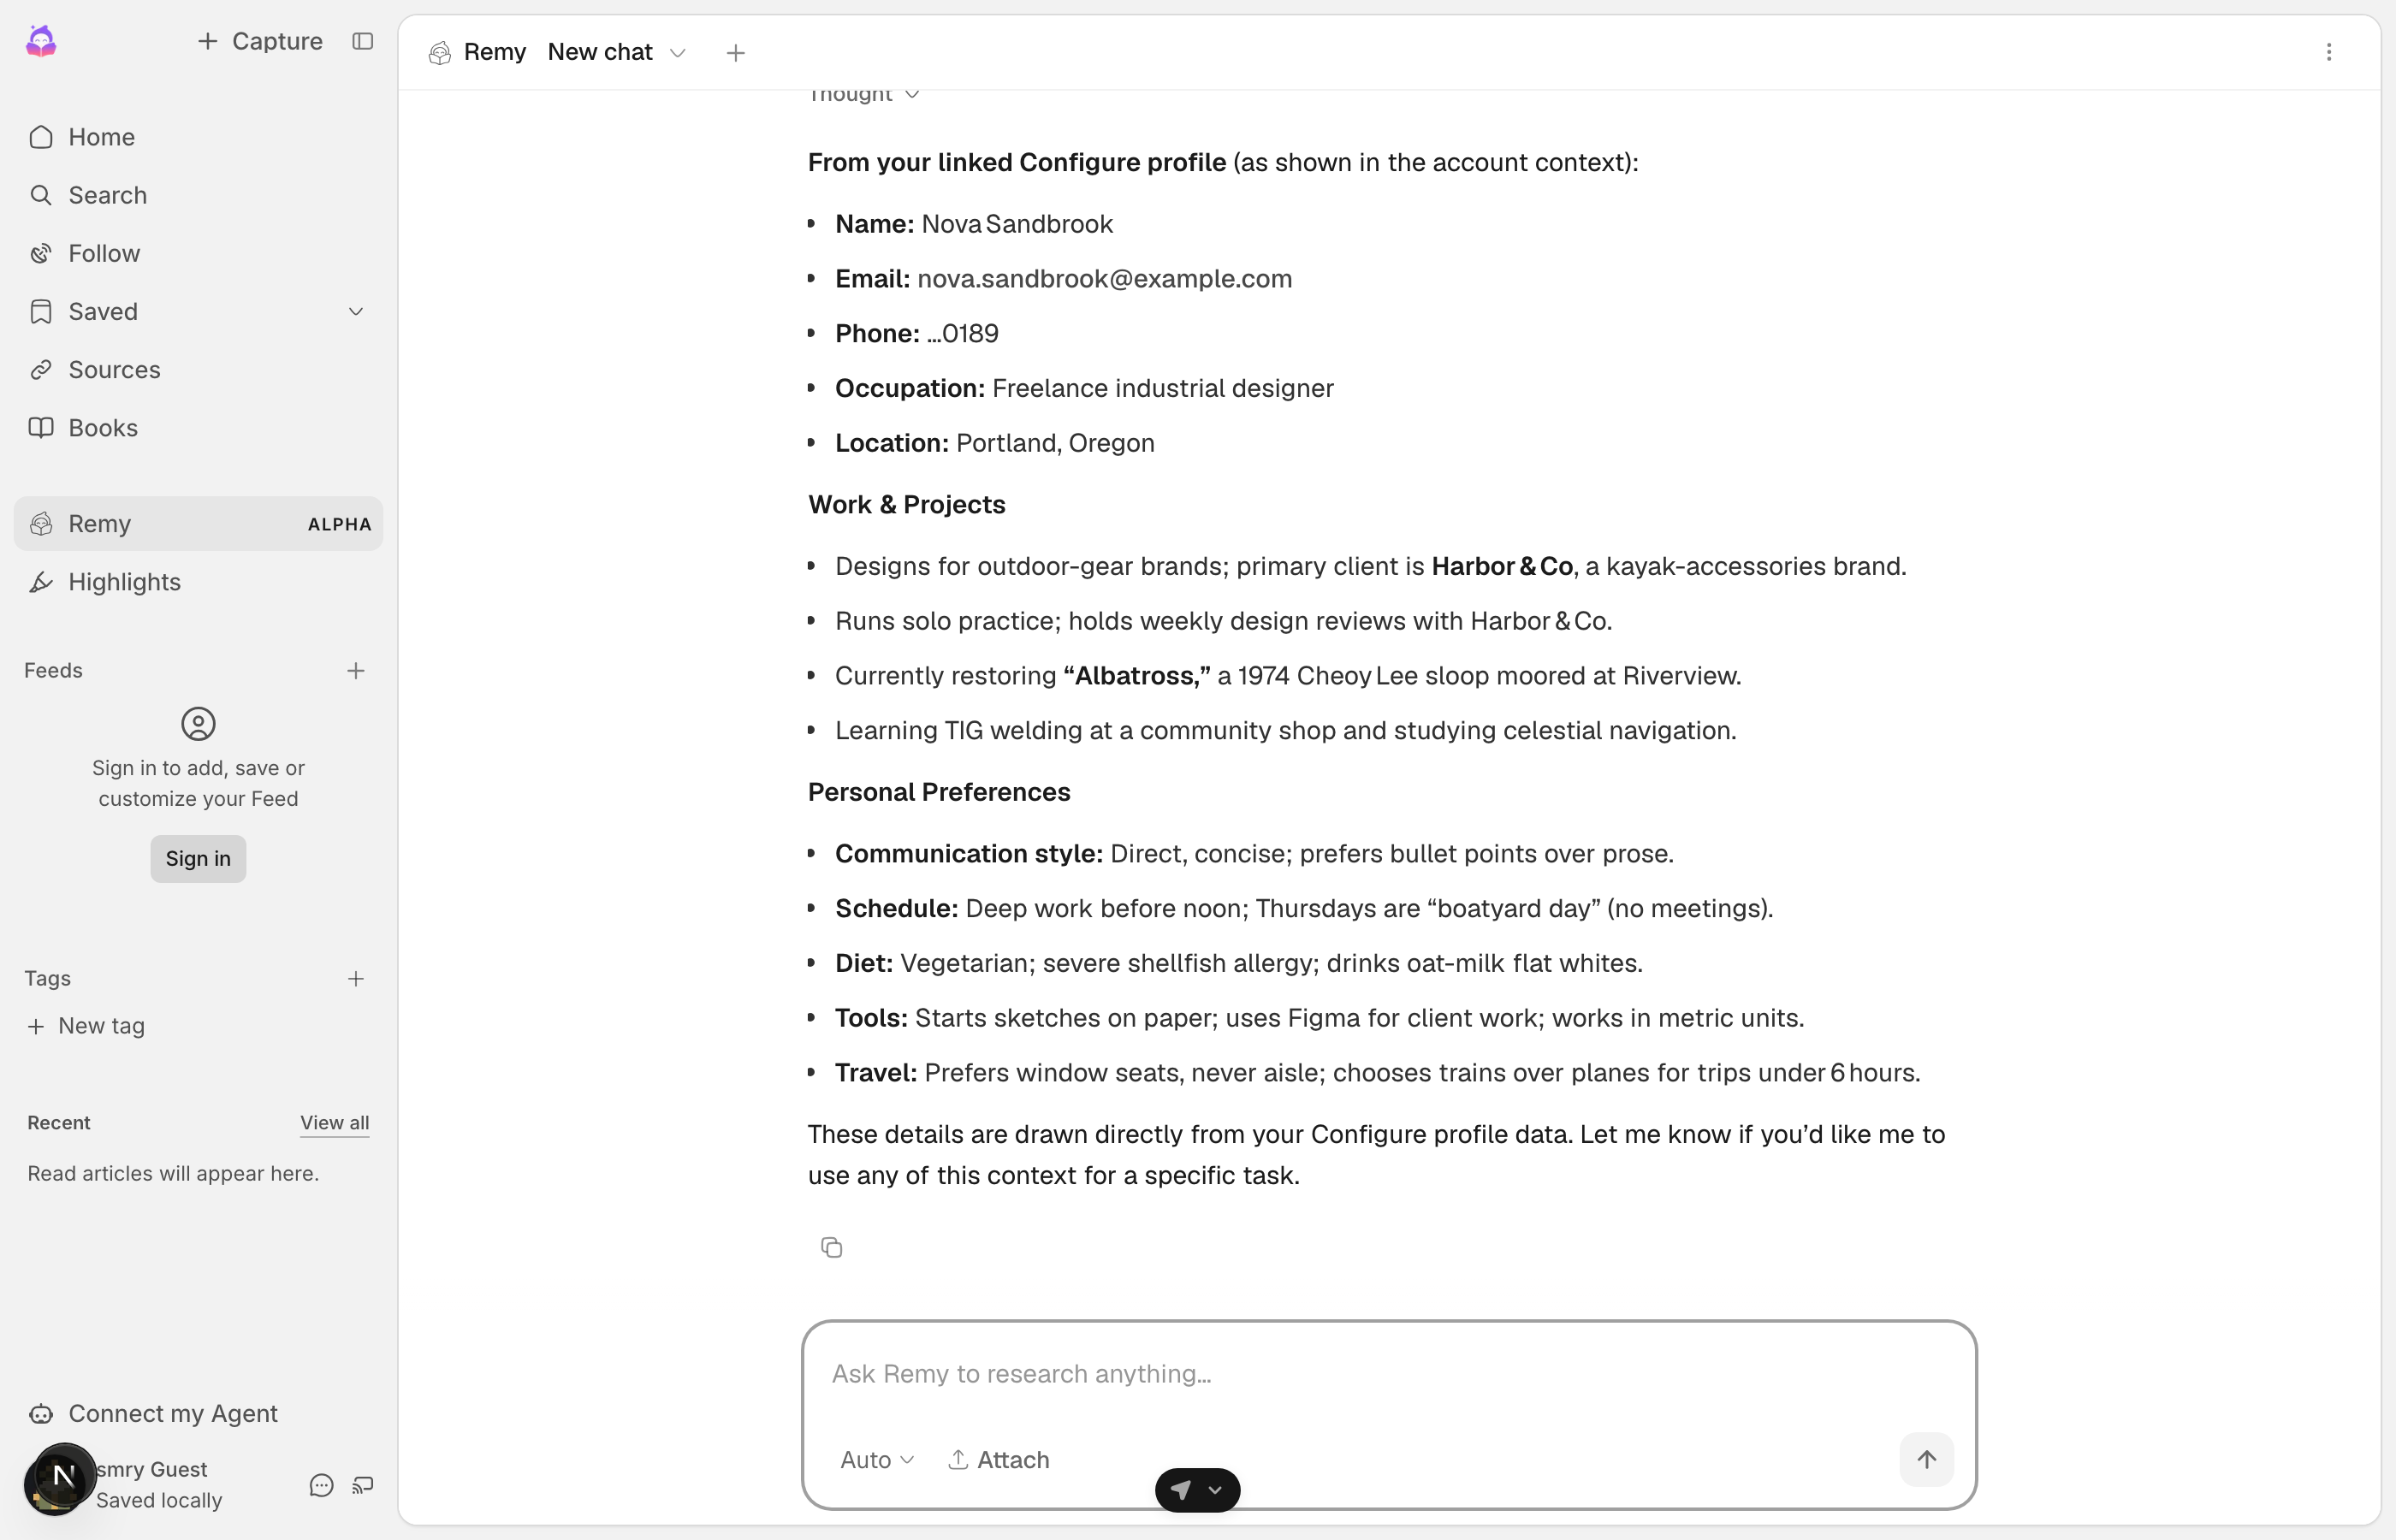
Remy has never talked to Nova before. It knows her work, schedule, diet, and tools because she brought them with her.
Try it yourself. That link opens Configure's page as a user sees it.
The code
Your server makes every call. The Quickstart puts each line in place.
ts
import { Configure } from "configure";
const configure = new Configure({ apiKey: process.env.CONFIGURE_API_KEY, agent: process.env.CONFIGURE_AGENT });
const profile = configure.profile({ externalId: user.id });   // one handle per user, keyed by your id

const { connect_url } = await profile.connect({ returnUrl });  // 1. the chip's route redirects the user here
const read = await profile.read({ sections: ["identity", "preferences", "summary"] });   // 3. read.profile.format() goes in the system prompt
await profile.commit({ messages: turnMessages });              // 3. save each turn to the profile
const session = await profile.mcpSession();                    // 3. optional: the Configure tools for the model
Choose your path
QuickstartEvery step, end to end, for an app with its own server.SkillsPaste one message into Claude Code, Cursor, or Codex and it builds the Quickstart for you.OnboardingThe chip in an onboarding step, and a welcome screen that shows what the user brought.ComponentsConfigure's own buttons, which open Configure's page inside yours.Connect over MCPConnect an app you already use, or connect from your own server.Message agentsSMS or voice, where a link replaces the chip.
For coding agents
If you are an AI agent adding Configure for a developer, follow the Quickstart from top to bottom. It covers the chip, the redirect to the connect_url from profile.connect(), and the return route. Add .md to any page URL for plain markdown, and read /llms.txt for the full index. From the server, inject the profile on the first turn of each session, refresh it once a day, and commit every turn. Then give the model the configure_* tools over MCP. Never build a Configure link yourself. Only profile.connect() mints one.